Is it possible to remove a cutout for a dormer in a roof with revit.
Revit wont cut dormer roof.
I m not sure if you got this roof to join but here are a couple tricks to try.
I want to eliminate of the dormers.
Place the cursor in the drawing area.
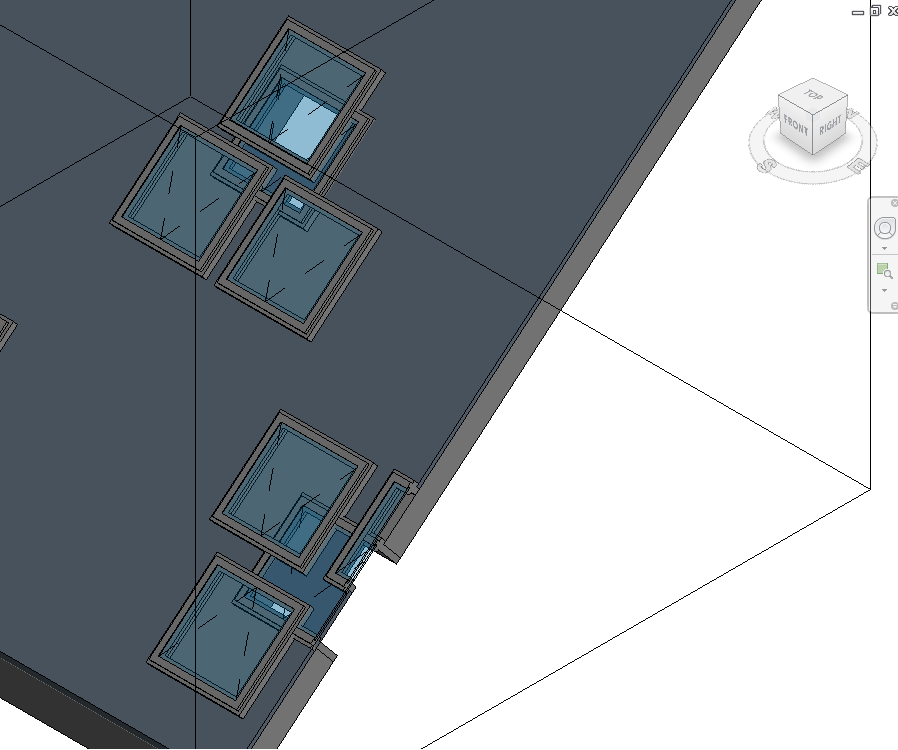
I made the dormers and the dormer openings the same way but on the rear of the building one line of the cut profile only seems to cut the roof in the vertical direction instead of both horizontally and vertically as all the other cut profile lines do.
When that edge on the dormer gets too close to the same edge on the main roof the opening cut fails.
I cant seem to select the hole to remove it.
The dormer cut has been left selected to show the modification.
It can be as little as 1 128.
Place the 3 walls in the plan view.
The pick roof wall edges tool is active so that you can pick the boundaries that compose the dormer opening.
You can also create the dormer with a two cut plumb and the fascia depth set to zero so that the dormer has a flat.
I placed two dormers in a gable roof and used the dormer opening tool to cut out the roof at the dormers.
Select the dormer cut and then select the edit dormer opening from the ribbon as shown in figure 8.
Edit the dormer opening to reflect the roof modification as per figure 9.
When i erase the dormer walls and roof i have the hole in my roof where the dormer was located.
If so how do you do it.
I have a roof that i have cut for a major gambrel dormer that is identical on both the front and rear of the building.
Watch the status bar to be sure that you are highlighting the main roof.
This tutorial explains the process to create a gable dormer in revit.
If you make the dormer roof with a very slightly bigger overhang than the main roof it will then join to the main roof.
Structure tab opening panel dormer opening highlight the main roof on the building model and click to select it.
Select the wall tool and choose a wall from the type selector.
If the 2 edges are far enough away from each other it works fine.
Change the visual style back to shaded to show the finished item as in.