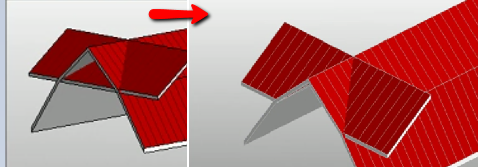
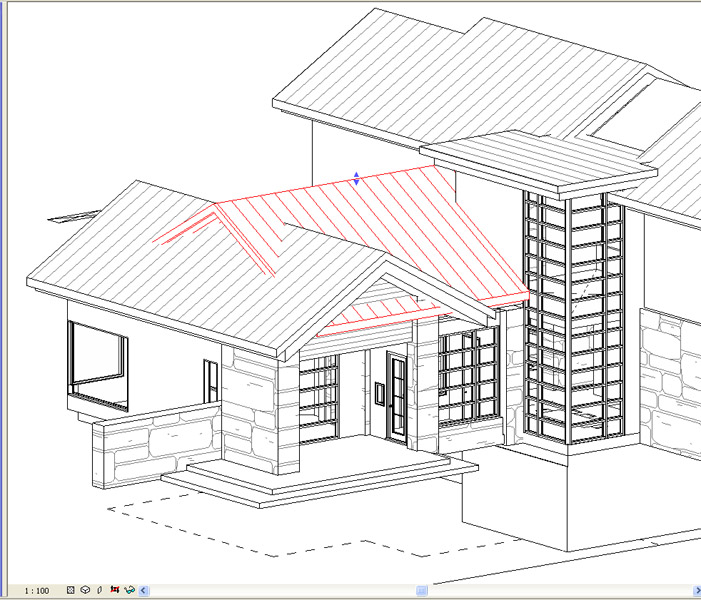
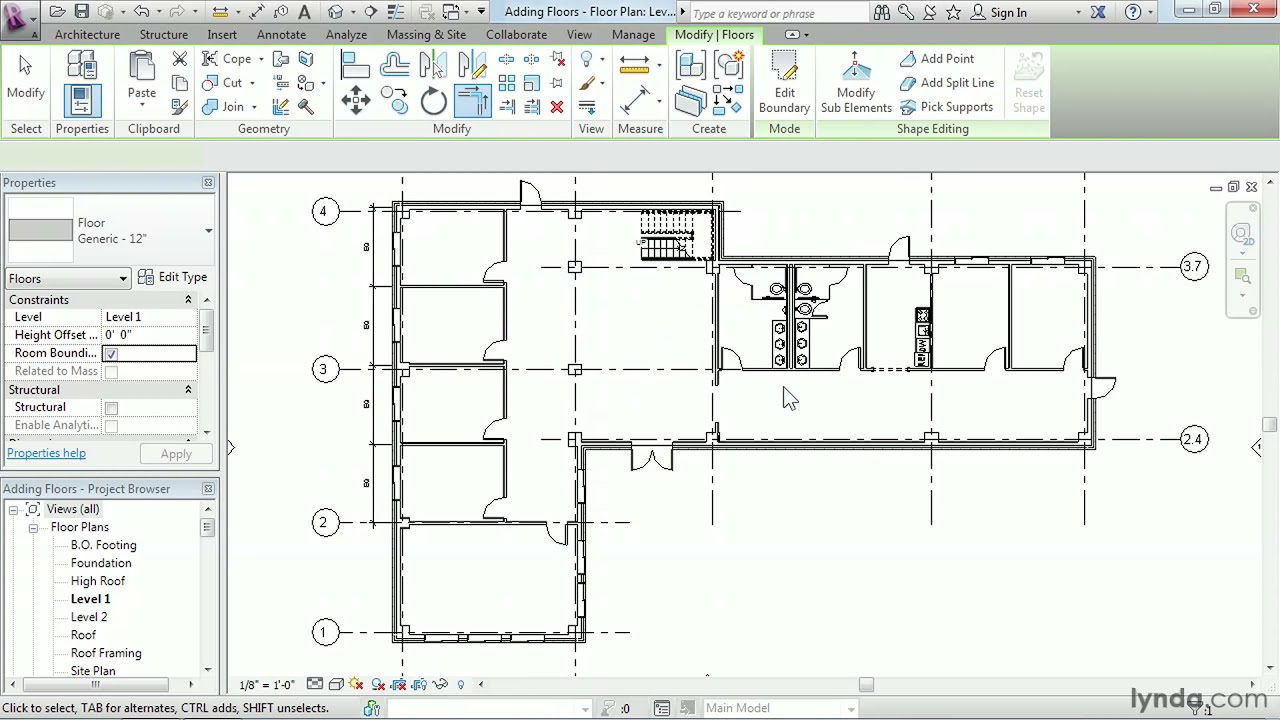
Select the slab or roof slab to be trimmed.
Revit trim intersecting roofs.
Then follow these 2 steps.
You end up with a group of lines showing the outline of the roof plus the intersecting line between the roof faces.
Truss or rafter now that we have used our pick walls tool with a 2 0 overhang let s explore it s bearing point.
Any fascia or soffit profile that intersects the trim plane is trimmed at the same angle as the slab or roof slab.
This tool is located in the modify tab.
The wall must be attached to the target roof and the target roof must be a footprint roof.
This is a general.
Then you can trim the roof faces to this line.
Another option occurring in the roof properties is whether the roof is set to be a truss or rafter.
Use join unjoin roof tool.
You cannot join a roof to more than one top face of another roof.
You can join a roof to the top face of another roof and the wall below that roof if you select the wall as the target.
9 join roofs add opening to create dormer.
You can join roofs to other roofs or walls or unjoin them if they were previously joined.
To create a dormer model required walls and additional roof.
If the trimming object is a wall or a slab the trim plane is at the closest surface.
The new edge at the trim plane has its edge angle defined by the trim plane.
The bad thing about extruded roofs is the fact you can t follow along with the footprint of your building the good thing is we can do something about that the objective of this video is to go to the plan view we will then create a void where our walls jag in and out this is going to allow revit to cut the roof properly in plan to get started jump into your revit roofs.