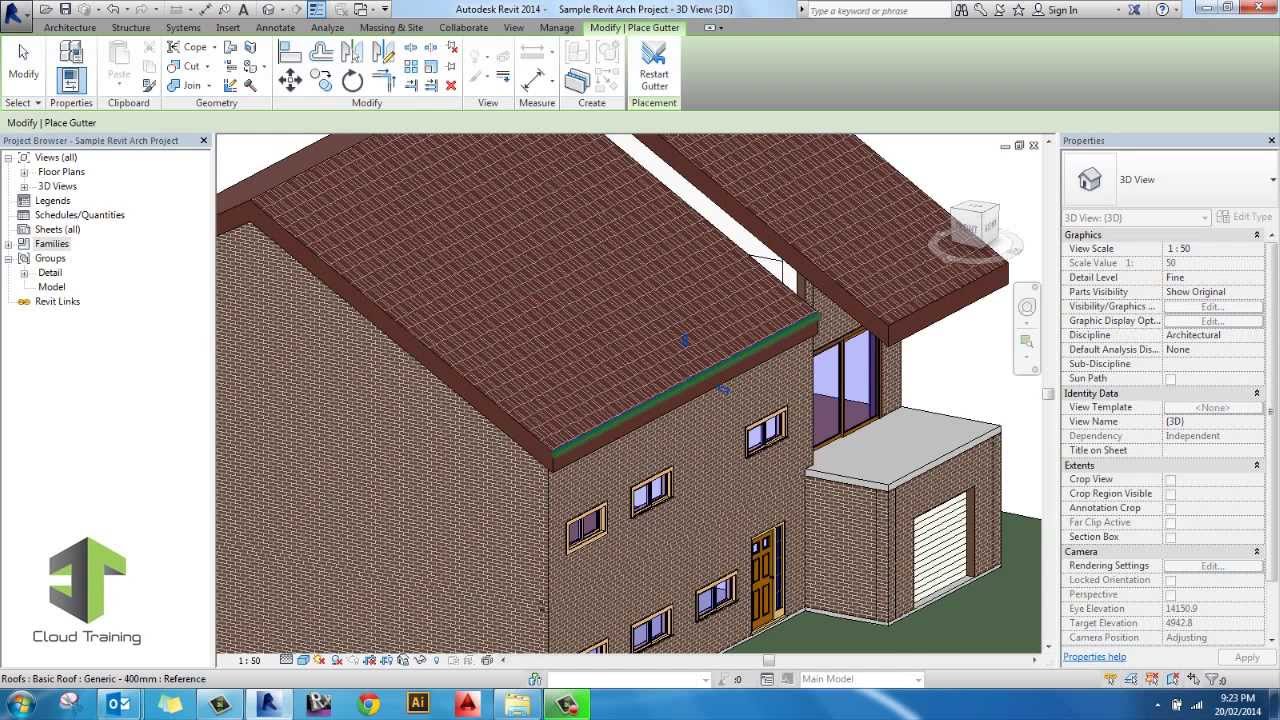
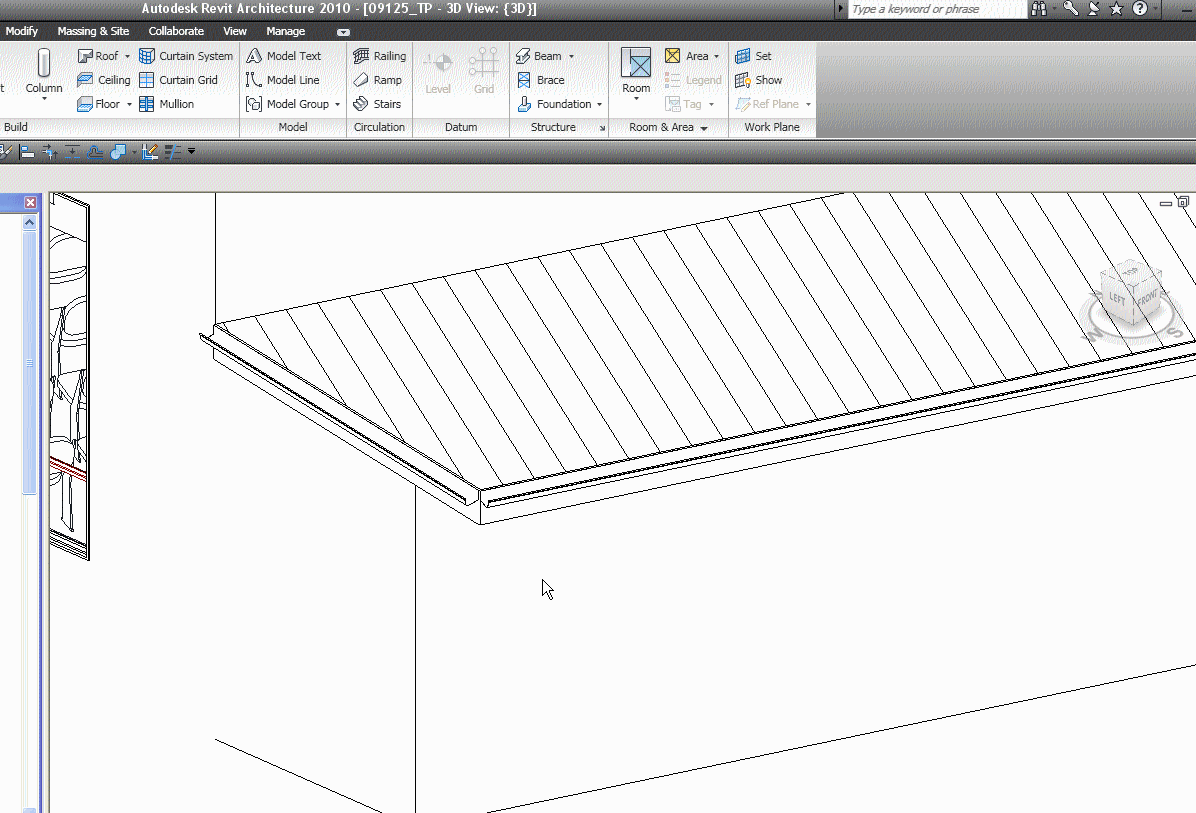
Highlight horizontal edges of roofs soffits fascias or model lines and click to place the gutter.
Revit join gutter.
Secure the gutters with pop rivets or stainless steels screws at the sides of the joined sections.
You can manage the location and appearance of gutters after they have been placed.
If you do not select this option you must make a first and second selection each time.
In the drawing area select the gutter.
Highlight horizontal edges of roofs soffits fascias or model lines and click to place the gutter.
Allow the gutter sealant to dry according to the manufacturer s directions.
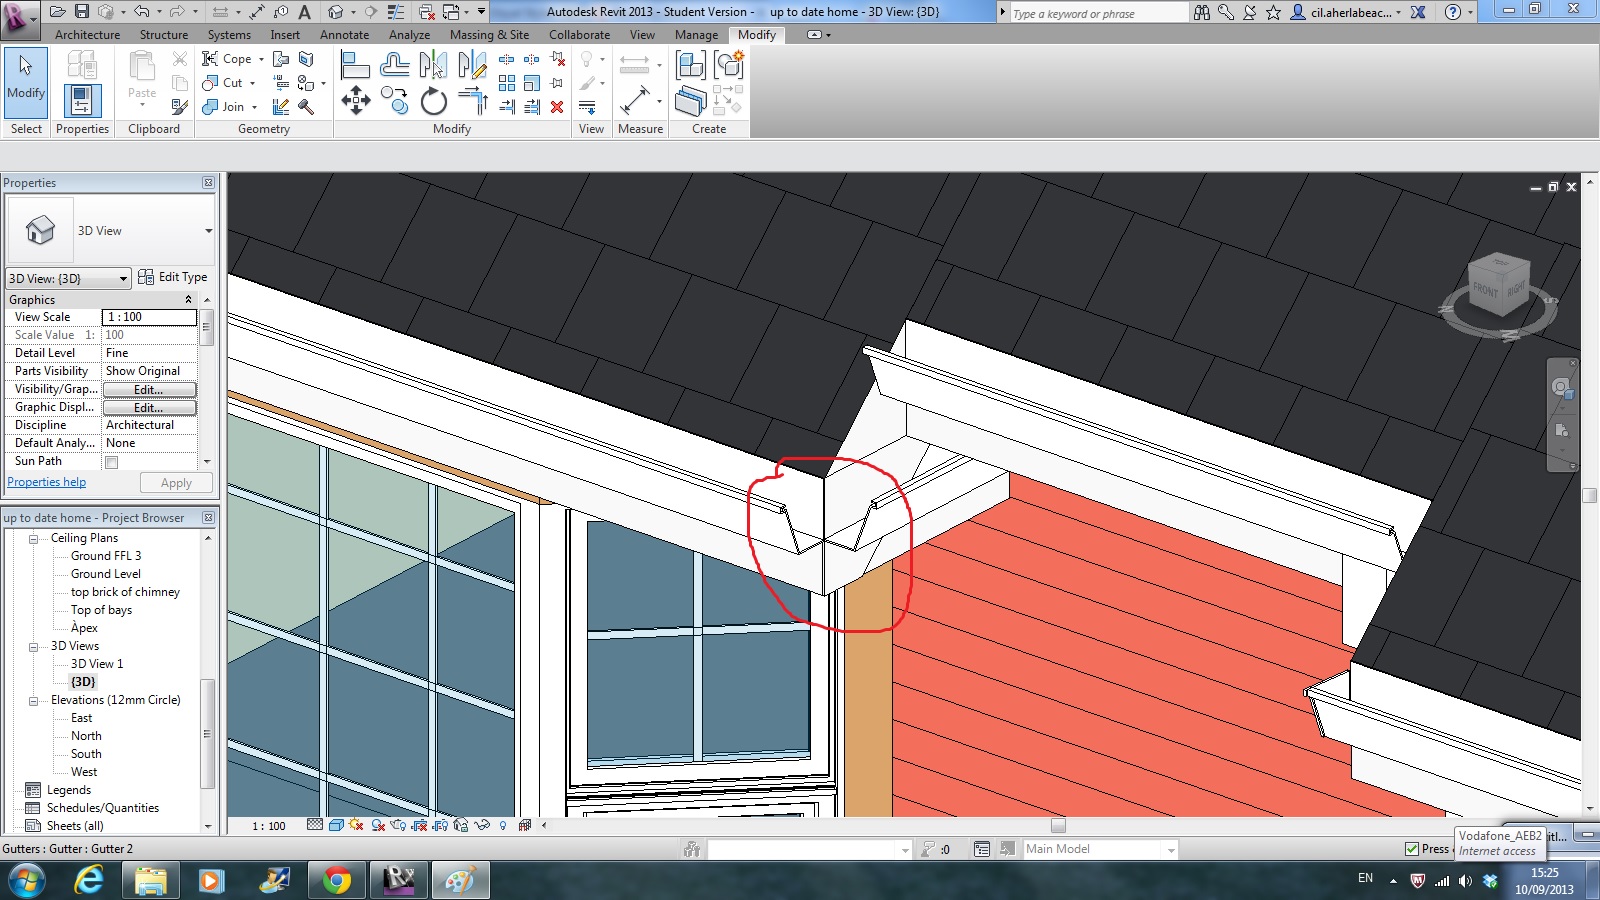
Now if you re choosing a fascia sweep as the edge to host your gutters and the fascias don t exactly trim together at a corner then the gutter won t either and you ll have to manually pull the ends of the gutter together to miter the corners.
If you are in a 3d view click the flip controls to flip the gutter around the vertical or horizontal axis.
In this video you will learn how to use the roof join tool in revit.
Your gutter is now the correct length and ready to install.
Gutters are swept profiles.
In revit you can place gutter elements on horizontal roof eaves and gables.
You can create and load your own custom profiles to use as gutters.
Click modify tab geometry panel join drop down join geometry.
If you are in a 2d view right click the gutter and select flip about horizontal axis or flip about vertical axis.
As you click edges revit treats this as one continuous gutter.
Use the gutter tool to add gutters to roofs soffits model lines and fascia.
Select the first geometry to join for example a wall face.
Never put rivets on the bottom because they could cause the gutter to leak.
Click modify place gutter tab placement panel restart gutter to finish the current gutter and start a different gutter.
Watch the status bar for information about valid references.
Check the blue handles at the ends of the gutters and make sure they re both at the same location for each gutter piece.
If you want to join the first selected geometry instance to several other instances select multiple join on the options bar.
As you click edges revit treats this as one continuous gutter.