Revit Align A Stacked Wall Change To A Sloped Roof

Revit Roof Cleaning Up Overlapping Roofs Youtube

Link Revit File Align And Copy Level Grid Copy Monitor Grid Alignment Monitor

Revit Wall Wrap Closure A How To Guide Youtube
Copying Walls To Multiple Levels In Revit Youtube

Revit Tips Tricks Demolish Parts Of Wall Within Phasing White Text On Black Background Youtube
Revit Tutorials Custom Wall Parapet Youtube
You can use slope arrows to create slopes on a roof.
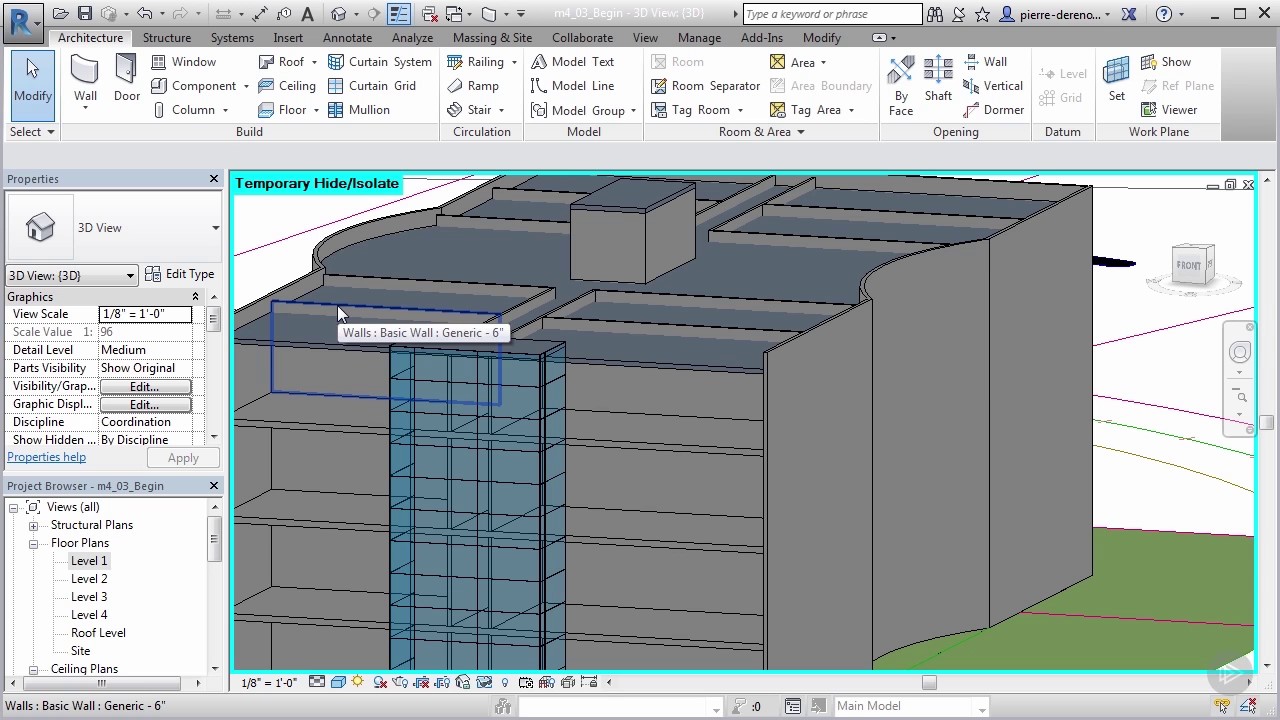
Revit align a stacked wall change to a sloped roof.

Solved Rotate Error Can T Rotate Element Into This Position Autodesk Community Revit Products
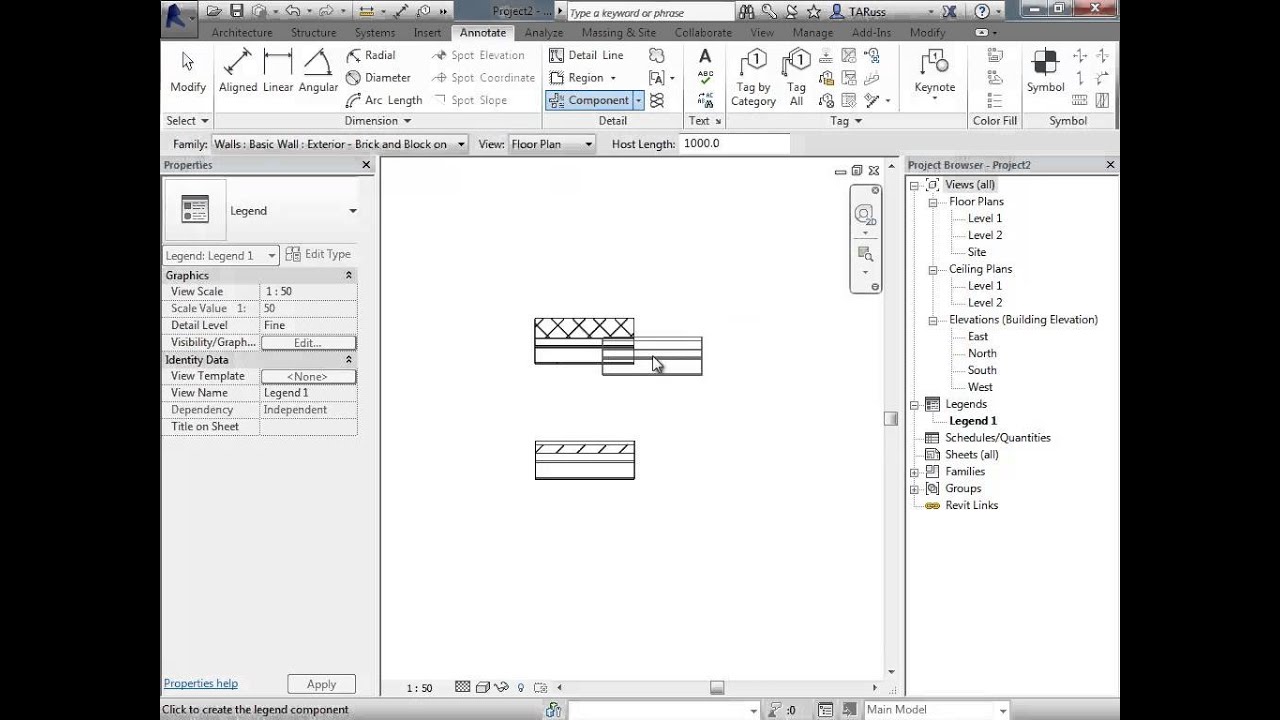
Revit Wall Tags And Wall Types Legend Youtube

Wall Joins Youtube
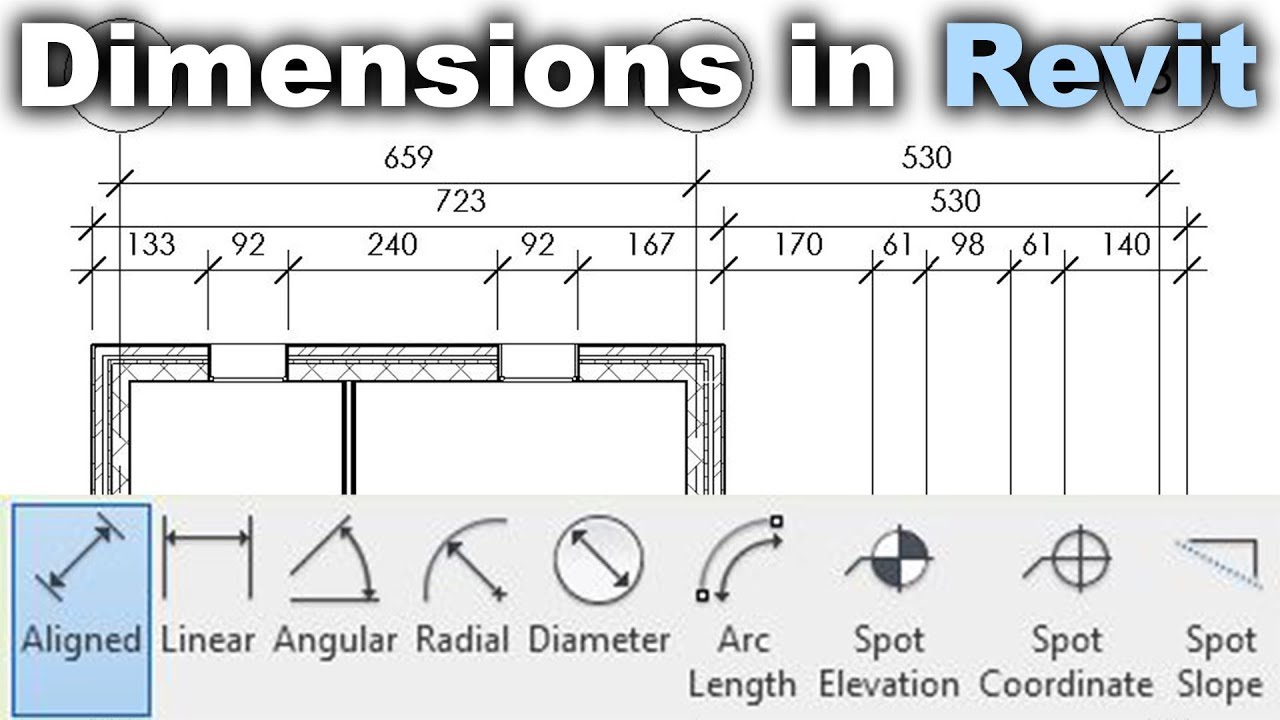
Dimensions In Revit Tutorial Youtube
Source : pinterest.com
