Enable camera interface step 3.
Raspberry pi camera cable orientation.
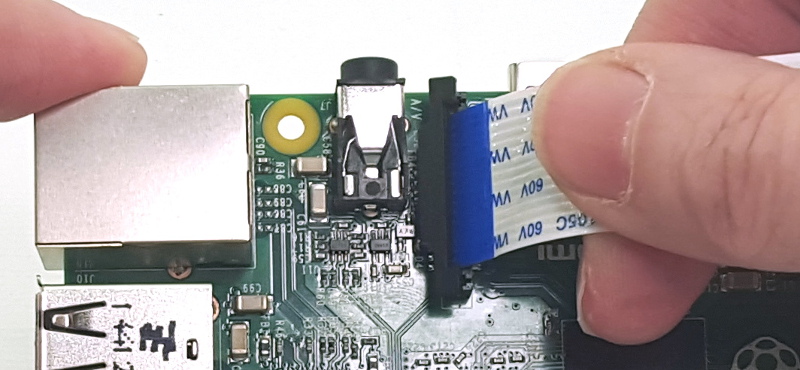
Find the camera port on the raspberry pi between the hdmi and jack port.
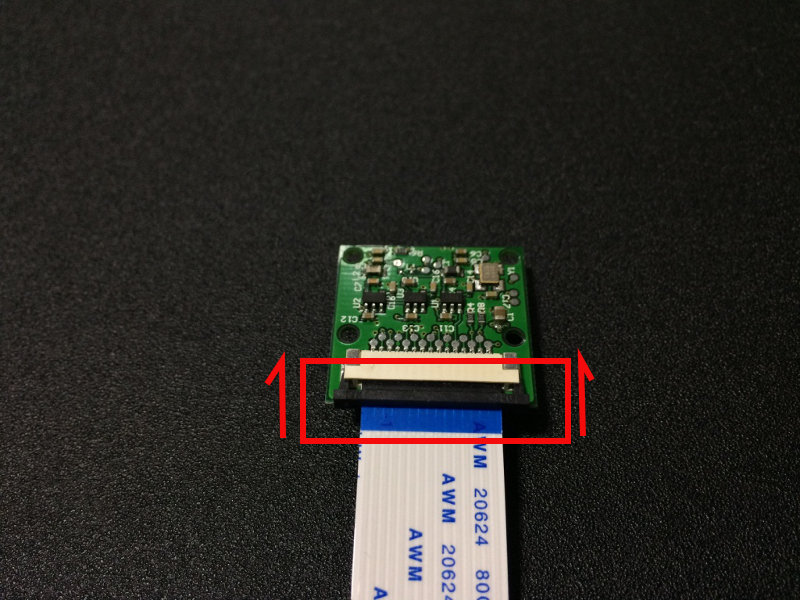
Hence we will need to remove the flex cable from the camera module.
Take the raspberry pi out of its box.
Connect camera module step 2.
If in doubt just make sure.
Interfacing camera module with raspberry pi4 is three steps process.
To open the port use two fingers and lift the ends up slightly.
To do so we pull the black connector downwards as shown in the picture below.
The camera installation on the raspberry pi is straightforward once you find the port location.
The camera module comes with a flex cable that will not fit into the csi camera connector on the raspberry pi zero w.
On the raspberry pi b 2 and 3 the camera port is between the audio port and the hdmi port.
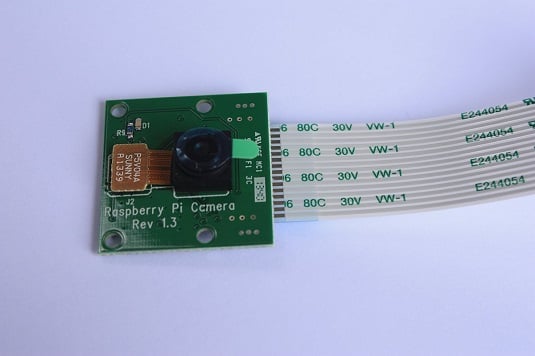
The camera board attaches to the raspberry pi via a 15 way ribbon cable.
This was simply my ignorance caused by an omission in.
They are installed and work in the same way.
Install the raspberry pi camera module by inserting the cable into the raspberry pi camera port.
Miuzei raspberry pi camera cable 2m extension flex ribbon cable 15 pin 1 0 mm pitch compatible with raspberry pi 3b 3 b 2b and b 4 6 out of 5 stars 18 8 99 8.
The standard camera module is green.
Removing the original flex cable from the raspberry pi camera module.
You need to get the cable the right way round or the camera will not work.
You can buy the cable separately or get it with the official pi zero case.
This is actually longer than i need but it works.
There are only two connections to make.
Capture images v.
Open the camera port on the raspberry pi.
On the original raspberry pi b it is between the ethernet port and the hdmi port.
Connecting the camera on a pi zero w.
Learn how to connect the raspberry pi camera module to your raspberry pi and take pictures record video and apply image effects.
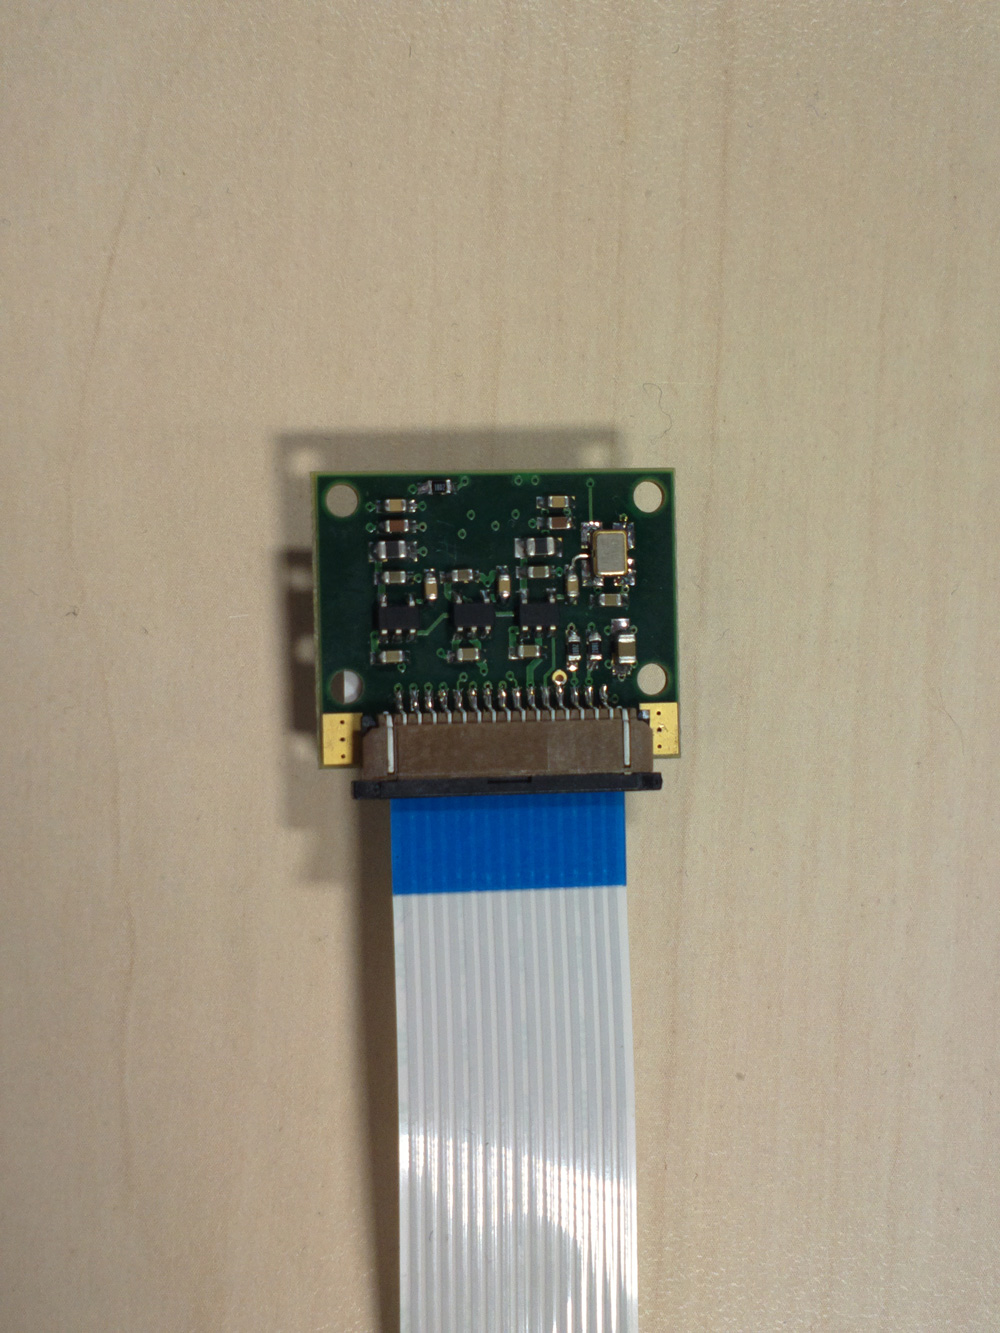
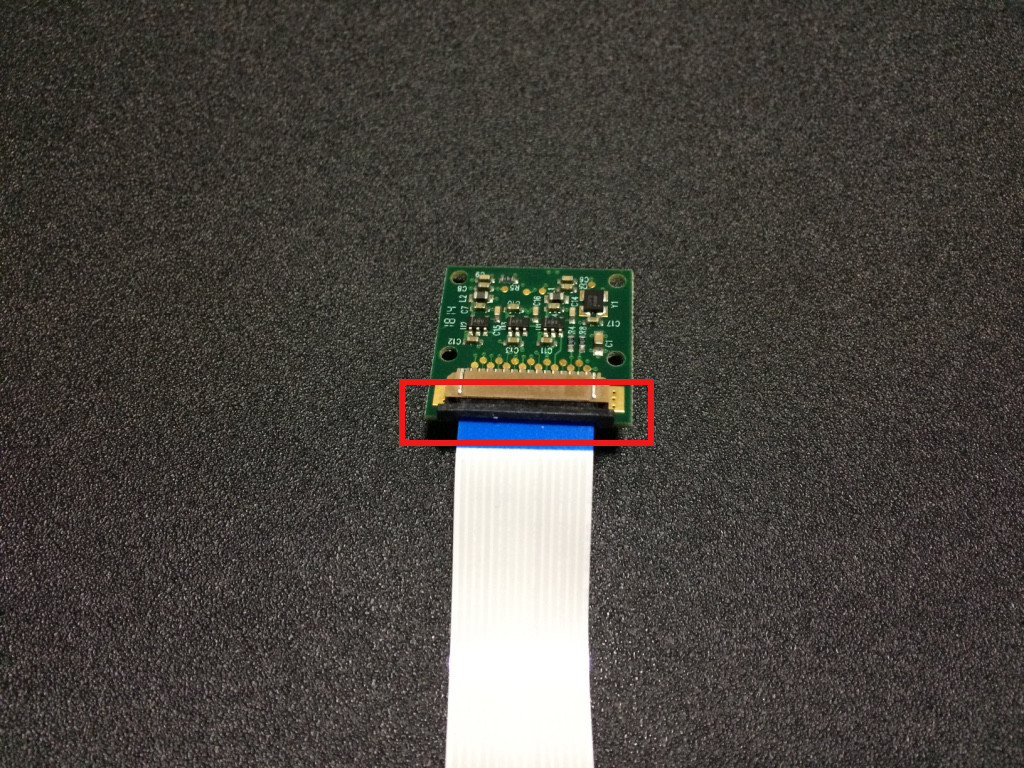
On the camera pcb the blue backing on the cable should face away.
One thing i didn t realize was that the socket on the raspberry pi 3b has a lift up clamp that then needs to be pushed back down to lock the cable in place.
The camera and the pi board have similar sockets for the cable.
Sign in to or create a raspberry pi account to save your project progress and come back later.
The ribbon cable needs to be attached to the camera pcb and to the raspberry pi itself.
What you will need.
Once everything is ok you can stop the raspberry pi to install the camera sudo shutdown h now.